Content is King: Populate Your Slider
Now that you've chosen the perfect Slider Style to complement your brand and goals, it's time to personalize your slider with captivating content.
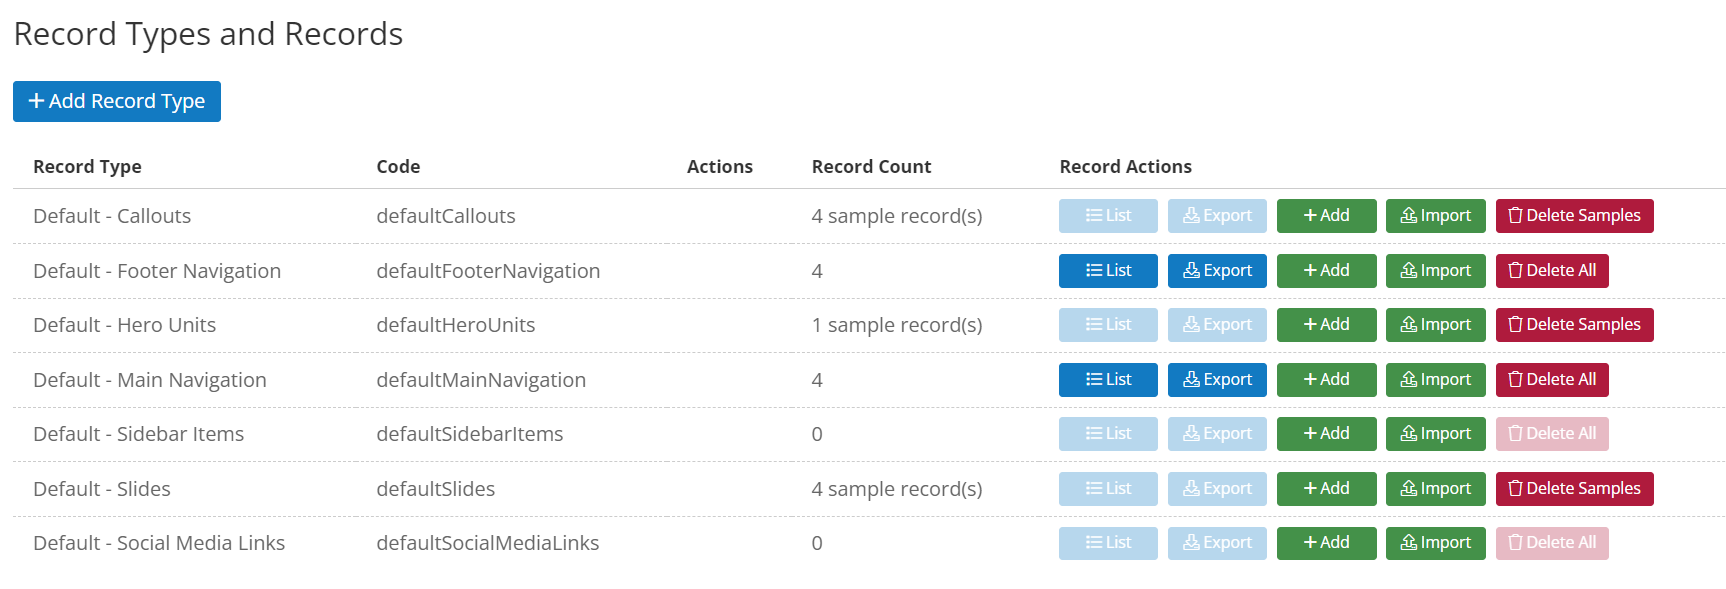
- Navigate to Website > Records
- Look for the Record Set labeled "Default - Slides".
- If this is a brand new Lionheart2 store, you will encounter some pre-populated sample slides. Feel free to delete them to create a clean slate for your own content.
Adding Your Unique Touch: A Breakdown by Slider Style
Once you've cleared the sample slides, you're ready to add your own images, messages, and calls to action. Click the "+ Add" button to create a new record within the record set "Default - Slides". Each record corresponds with one slide on the slider.
Not every field is associated with every slider style. Here's a breakdown of the specific fields you'll encounter for each Slider Style:
Slider Style A:
- Image: Upload a high-resolution image to showcase your brand. This can be in either portrait or landscape orientation, the images will scale to fit.
- Link URL (Optional): Define the page users will be directed to when they click on Image or the CTA button on the slide.
- Link Title (Optional): Craft a concise and descriptive call to action. This is the text that appears as a button.
- Title (Optional): Captivate viewers with a clear and concise title that summarizes the essence of your message.
- Message (Optional): Include a brief message to further entice viewers to click on the image.
Slider Style B:
- Image: Upload the high-quality landscape image that will serve as the centerpiece of your slider.
- Link URL (Optional): Define the web address viewers will be directed to when they click the CTA button on the slide.
- Link Title (Optional): Craft a concise and descriptive call to action that serves as the text on the button.
- Message (Optional): Include a brief message to further entice viewers to click on the image.
- Title (Optional): Captivate viewers with a clear and concise title that summarizes the essence of your message.
Slider Style C:
- Image: Upload the high-quality image that will be the sole visual element on the slide.
- Link URL (Optional): Define the web address viewers will be directed to when they click anywhere on the image (the entire slide becomes a clickable link).
Pro Tip: Optimizing Your Slider for Impact and Accessibility
Here are some key considerations to elevate your slider's visual appeal and ensure it's accessible to all users:
Image Selection: Prioritize high-resolution graphics that are visually compelling and relevant to your brand and message.
Concise & Impactful Text: Let the visuals take center stage. Use text strategically to provide essential details or calls to action, keeping it concise and impactful.
Accessibility Best Practices: For optimal accessibility, whenever possible, it's best to keep text separate from the images themselves. This ensures users with screen readers and other assistive technologies can access the information within your slider. Slider Styles A and B, with their dedicated text fields, are ideal choices when you plan to incorporate vital information for your users, alongside your images.
By following these guidelines and the specific content fields available for each Slider Style, you've unlocked the power to craft captivating and accessible sliders that engage your audience and drive action.